Meal Prep Lunch Packing Checklist for Work
Use this meal prep lunch packing checklist to match containers, cooling, and bag space to your workday, with an optional lunch-box shopping example.
Affiliate disclosure: As an Amazon Associate I earn from qualifying purchases. This article includes affiliate links, and we may earn a commission if you buy through them. Read our disclosure. Product suggestions are based on published information, not hands-on tests.
Start with the workday, then choose the bag
A meal prep lunch packing checklist starts with your schedule. Write down when you leave home, when you usually eat, and whether a refrigerator is available when you arrive. Those details matter more than choosing a bag by appearance. A short commute to a reliable office fridge creates a different packing problem from a long shift with no cold storage. If your break moves around, plan for that uncertainty before deciding which food to bring.
Also think about how you carry the meal. A container that stays upright on a car seat may travel sideways in a backpack. A wide lunch box may feel awkward on a bicycle. Start with one realistic lunch and the space it needs; a larger collection of containers will not fix a bag that is difficult to carry.
Build a lunch that packs in separate parts
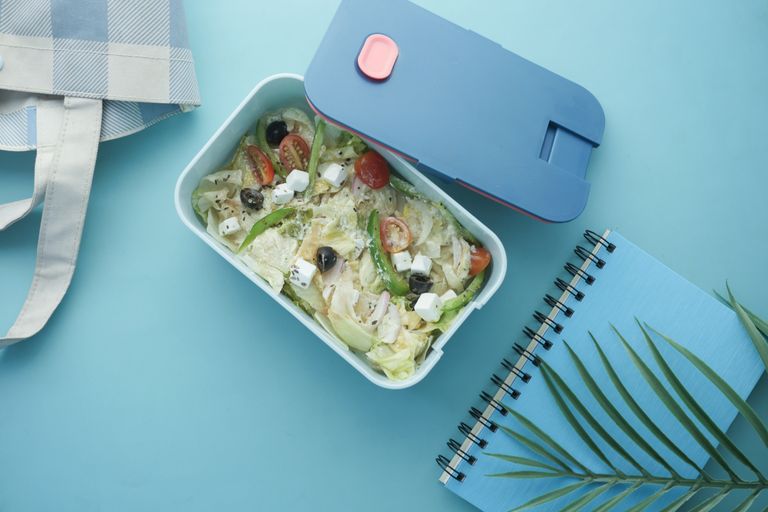
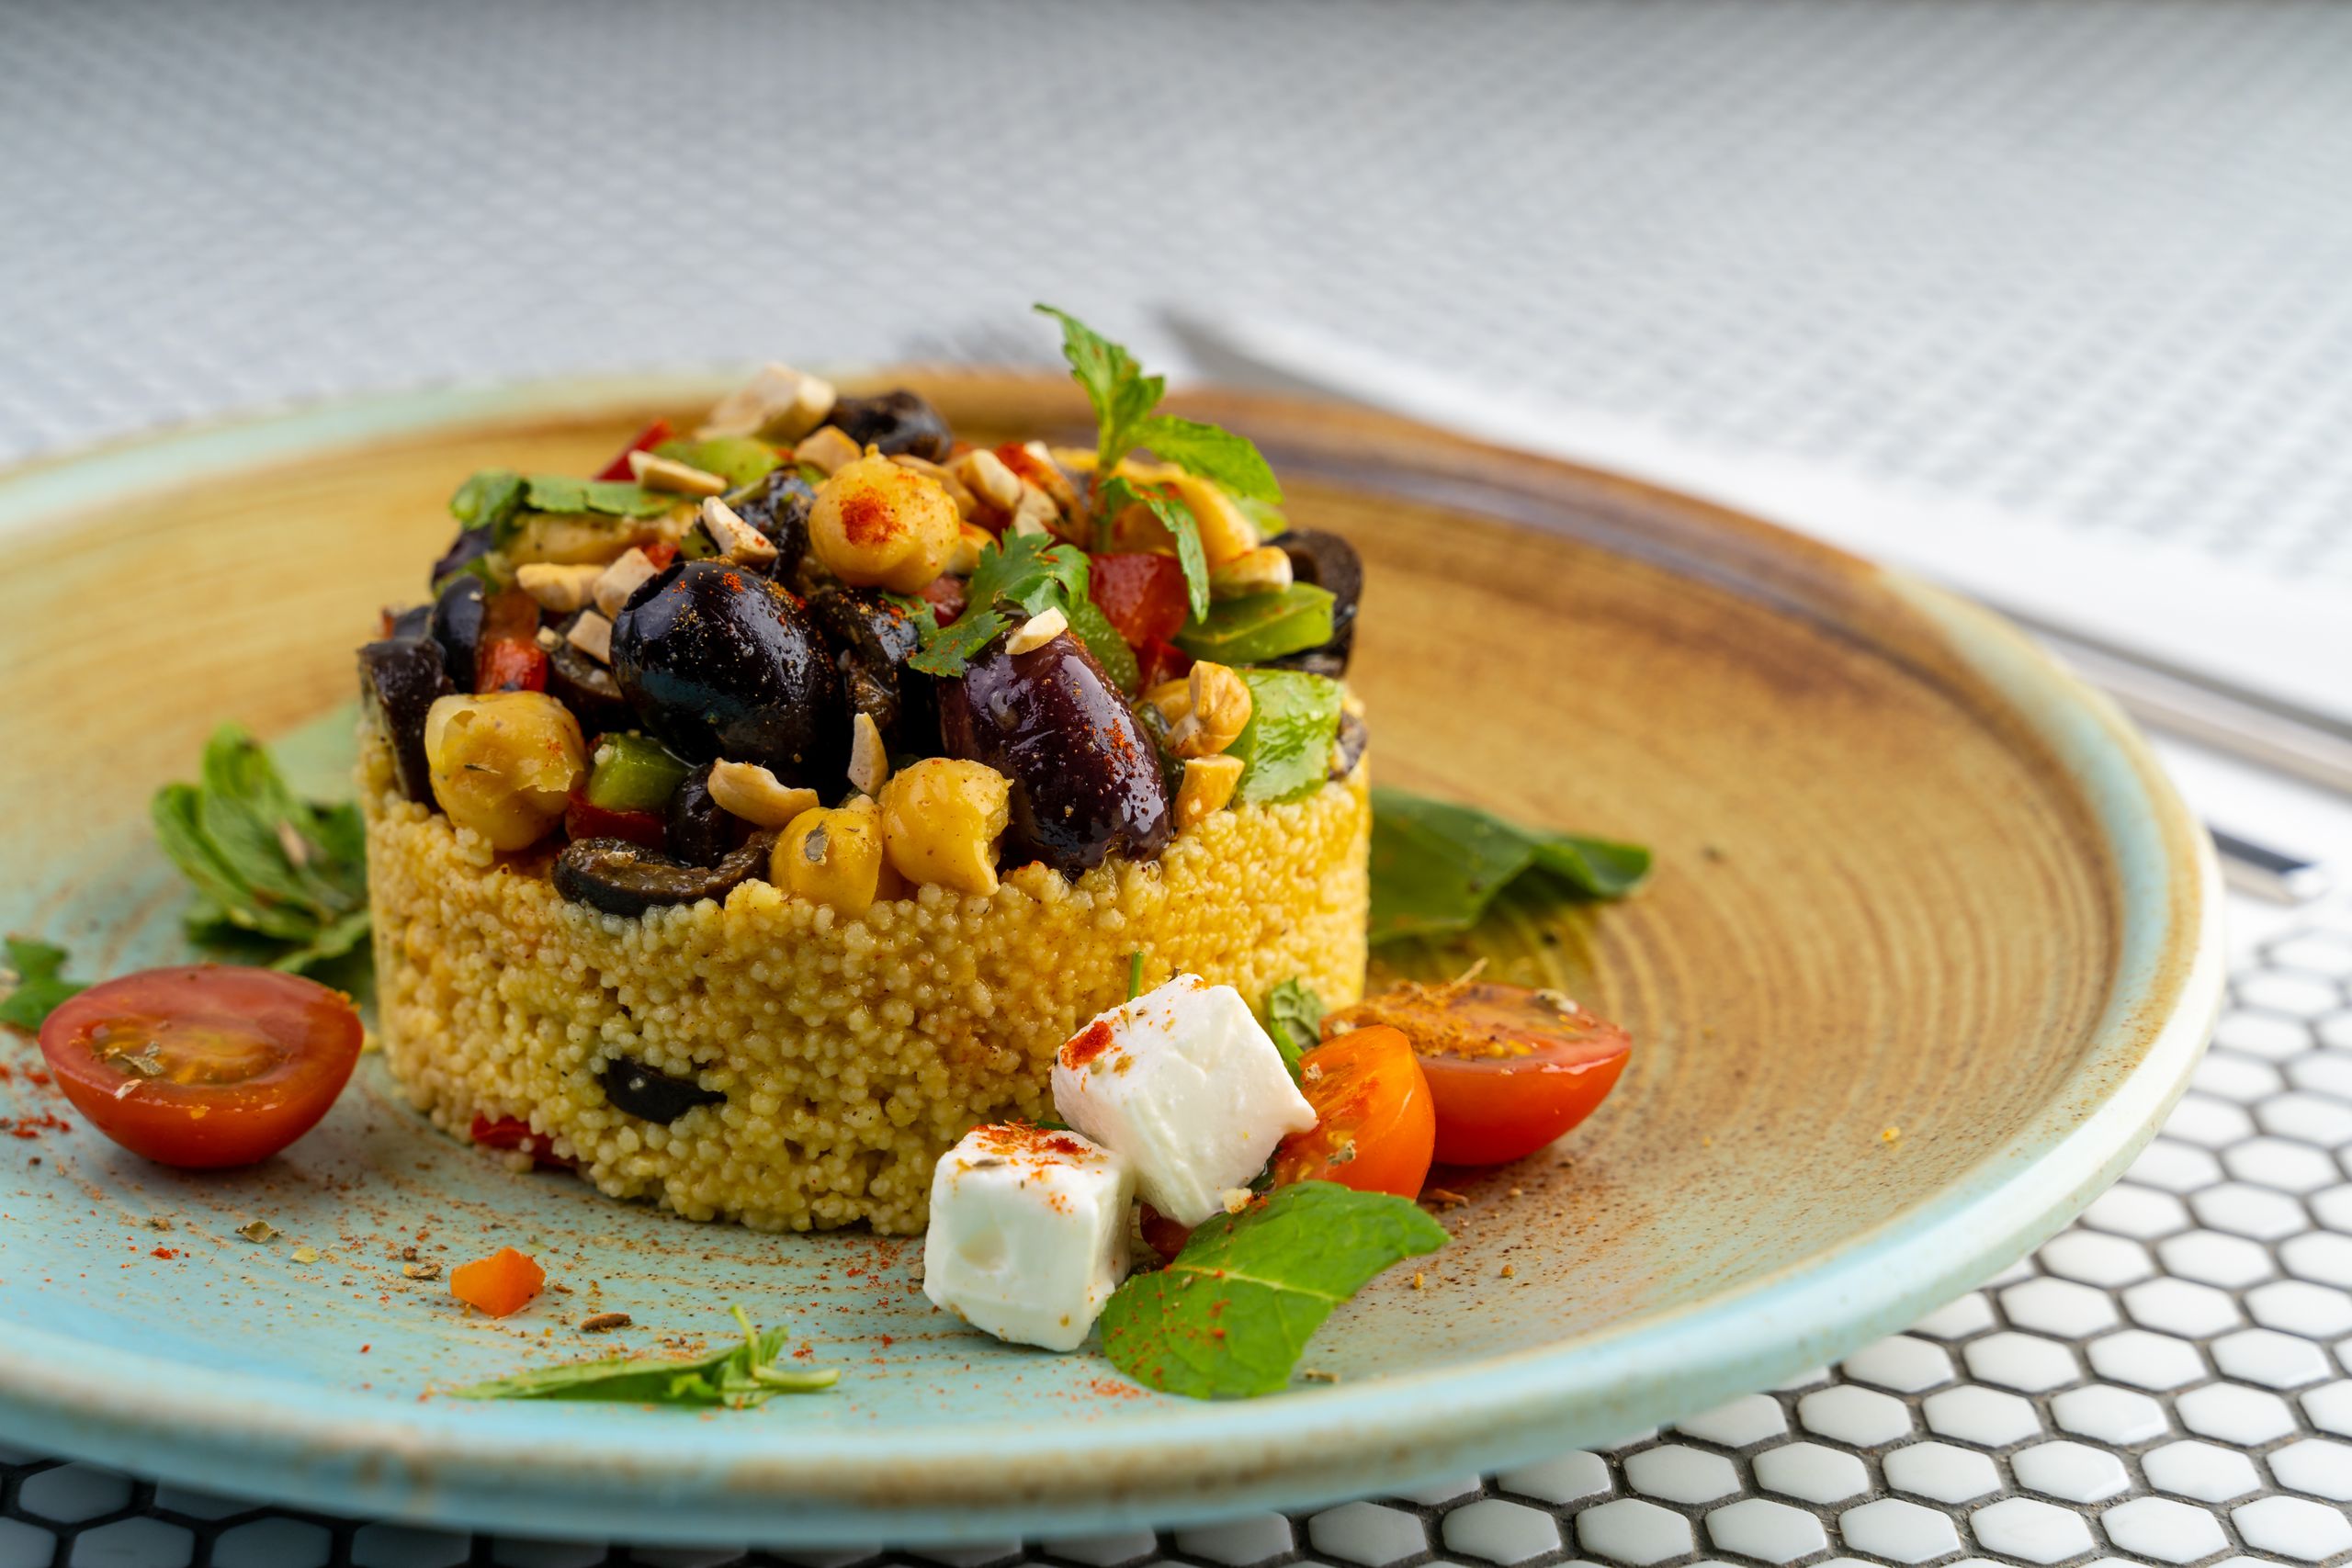
Choose a main dish that you enjoy at the temperature you can actually serve it. Couscous and chickpea bowls, wraps, and component lunches are practical starting points. Keep crisp ingredients and wet dressings separate until eating. A small sauce pot can protect texture without requiring a whole new container set. Use secure food-storage lids rather than relying on the lunch bag to catch a leak.
Pack an amount that fits your appetite and break length. A huge salad can be inconvenient when you have ten minutes to eat; a compact main plus a separate snack may suit the day better. Consider utensils, a napkin, and any drink you carry. These are easy to forget when comparing the advertised capacity of a bag.
Measure the complete packed lunch
Place your normal containers together on the counter with their lids fitted. Measure their outside width, length, and height. Include latches and handles, which can make the external size noticeably larger than the food compartment. Next, allow space for the cooling sources and any snack. Compare this complete arrangement with usable internal bag dimensions, rather than comparing a container’s volume with a bag’s advertised volume.
A useful dry run is to pack everything empty the evening before. Check that the zipper closes without forcing it and that a drink cannot crush a soft wrap. If the fit is tight, try a flatter container or carry the drink separately before buying a bigger bag. The simplest change may be using a container you already own in a different arrangement.
Make a cold-storage plan
For perishable lunches, USDA guidance calls for an insulated bag with at least two cold sources. Start with thoroughly chilled food, keep it refrigerated until departure, and use the work refrigerator on arrival when one is available. Cold food should stay at 40°F or below. A bag that feels cool to your hand does not establish the food’s temperature. See USDA’s bag-lunch guidance for the full recommendations.
Do not assume that a product’s “keeps cool for hours” description guarantees safe storage for your particular commute and shift. Ambient conditions, food temperature, packing, and opening the bag all matter. If you cannot maintain cold storage, choose an appropriate shelf-stable lunch instead of stretching the limits of a perishable one.
An optional lunch box to compare
The PackIt Freezable Classic Lunch Box is one option if you prefer cooling material built into the bag walls. The manufacturer describes a design that goes in the freezer before use. That can simplify the number of separate pieces you handle, but it also means reserving freezer space and remembering to freeze the bag. Check the exact version’s preparation instructions; the manufacturer’s current page and older listings can describe different freezing times.
Measure your containers against the selected model’s interior before ordering. A built-in cooling design does not remove the need for a safe temperature plan or replace the USDA guidance above. This is an editorial shopping example, not a hands-on cooling test. Read the manufacturer’s description.
Use a night-before and morning routine
The evening before, chill the prepared food, check that clean lids match the containers, and prepare the cooling equipment according to its instructions. Put utensils and dry extras together so that they are ready. Keep the food in the refrigerator rather than packing it into a room-temperature bag overnight.
In the morning, pack the chilled meal just before leaving and follow your cold-storage plan. At work, put perishables in the refrigerator promptly if available. After returning home, empty the bag, clean spills as the care label permits, and let cleaned parts dry. A repeatable reset is more useful than a complicated collection of accessories you cannot keep ready.
Frequently asked questions
Should I buy the bag or the containers first?
Start with the containers and food you actually use, then check a complete packed arrangement. Buying both at once without measurements makes poor fit more likely.
Does a freezable bag mean I can ignore refrigeration?
No. Follow food-safety guidance and verify that your storage plan keeps perishables cold. Product names and marketing language do not establish the temperature of your food.
What should I replace first?
Replace the item causing a real problem: a damaged food-storage lid, a bag that cannot fit the required cooling sources, or equipment you cannot clean properly. Keep using serviceable items that already fit your routine.